Blocking unwanted emails on iCloud can save you from the hassle of sifting through irrelevant messages. With iCloud’s user-friendly interface, managing your email preferences becomes a breeze. In this step-by-step guide, we’ll walk you through the process of blocking emails on iCloud, ensuring that your inbox remains clean and clutter-free.
Introduction
Unwanted emails can be a nuisance, clogging up your inbox and making it difficult to find important messages. Thankfully, iCloud provides a solution by allowing you to block these unwanted senders. Follow this guide to regain control over your inbox.
Accessing your iCloud Email
- Launch your preferred web browser.
- Navigate to the iCloud login page.
- Enter your Apple ID and password to log in.
Identifying Unwanted Emails
- Open your iCloud inbox.
- Scroll through your emails and identify the sender you want to block.
- Take note of the sender’s email address or name.
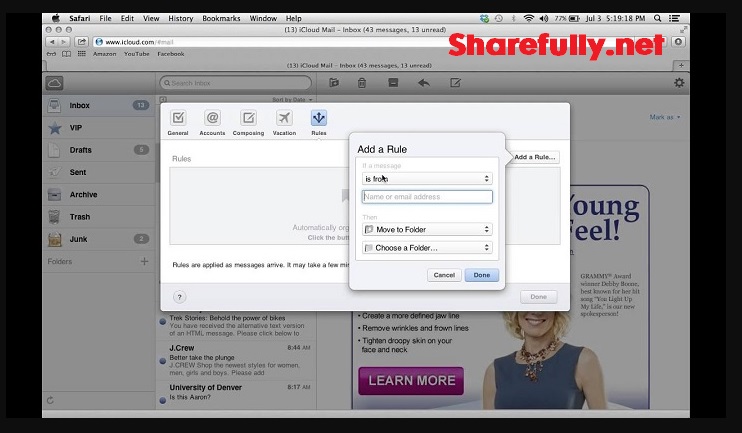
Blocking Emails on iCloud
- Open the email from the unwanted sender.
- Click on the “Flag” icon located at the bottom of the email.
- A drop-down menu will appear. Click on “Block this Contact.”
Managing Blocked Contacts
- Access your iCloud settings.
- Scroll down and click on “Mail.”
- Under the “Blocked” section, you’ll find the list of blocked contacts.
- To unblock a contact, click on the “Edit” button and then click the red minus icon next to the contact’s name.
Unblocking Emails
- If you change your mind about a blocked contact, access the “Blocked” section again.
- Click the red minus icon next to the contact’s name to unblock them.
Customizing Block Settings
- In your iCloud settings, click on “Mail.”
- Under “Blocked,” you can customize your block settings by adding or removing contacts.
Benefits of Blocking Emails
Blocking emails on iCloud offers several advantages:
- Reduced Clutter: Blocked emails won’t appear in your inbox, reducing visual clutter.
- Enhanced Focus: You can concentrate on essential emails without distractions.
- Improved Security: Block potential phishing or spam emails to protect your data.
Frequently Asked Questions
- Can I Unblock Multiple Contacts Simultaneously? Yes, you can unblock multiple contacts at once by selecting them and clicking “Unblock.”
- Do Blocked Contacts Know They’re Blocked? No, blocked contacts won’t receive any notification of being blocked.
- Can I Still Retrieve Blocked Emails? No, blocked emails are permanently deleted and can’t be retrieved.
- Do Block Settings Apply Across Devices? Yes, block settings apply to your iCloud account across all devices.
- Will Blocking Emails Affect My Other iCloud Services? No, blocking emails only affects your email service and won’t impact other iCloud services.
Conclusion
Blocking unwanted emails on iCloud is a simple yet effective way to regain control over your inbox. By following the steps outlined in this guide, you can ensure that only the messages that matter most find their way to your inbox. Say goodbye to clutter and distractions, and enjoy a streamlined email experience.